Thursday, February 27, 2014

Year 7 Graduation Dinner!

The March release from Kellie Stamps  is out TODAY!! Yay!! The 2 stamp sets are Magical and Cosy. Today I'm showcasing some of the Magical stamps. 

The photos on these pages are of my daughter Rachael getting ready for her year 7 graduation dinner - isnt she gorgeous!! She has grown up way too fast. 
These pages in my Holiday SMASH* book were perfect so I continued with the gold theme for all my embellishments. 
The flowers, paper doilies, bag and tag are from my stash. I've used stamps from Kellie Stamps - "magical" and "So happy" from the magical stamp set; "Proud Moment" the wood mount stamp; and the "you are amazing" from the January light wood venneer flair pack. 
 
I'm also participating in the Scrapbook Creations February Inspiration board challenge (here) which has a gold challenge!

Thanks so much for stopping by
Crafty Hugs xx

Monday, February 24, 2014

Coffee Date!

These photos on this page are are of my eldest daughter Rachael. Being the eldest she misses spending time with just her and me, so on this day we had a special Coffee Date together.

The background of the scrapbook page I'm showing you today has been created by spraying mists, stencilling with inks and stamping -  using the gorgeous purple and teal colour scheme. 

Many of the embellishments used on this page are from the Lilac haze Just Add Paper Kit from D-Lish Scraps.

I've also used some of the gorgeous stamps from Kellie Stamps.
I've matted my photos over some KaiserCraft patterned papers and a white paper heart doilie from my stash. I used some stamps from Kellie Stamps "BlahBlahBlah", "coffee date", and "love you" from the Best Friends stamp set and the coffee beans from the Tea For Two stamp set.
I used lots of goodies from the Lilac haze Just Add Paper Kit on this page.

In the top right corner I added a nested frame from the kit that had been sprayed with teal Dylusions. I also added one of the flair, a lavender resin butterfly, an aqua bitty bloom, some purple twine, and an adhesive pearl - all from the Kit.
In this cluster I've used a violet old fashioned rose, a purple mini metal flower, lavender bitty bow, self adhesive pearls, aqua bitty bloom, chevron button, and purple resin flower all from the Lilac haze Just Add Paper Kit. I also added a chevron Journal Spot and a teal flower from my stash.
I added a title using some Thickers that I had painted with purple and teal Dylusions - I just love how they turned out! Finally I added the date using my Pebbles roller date stamp.

Thanks so much for stopping by
Crafty Hugs xx

Thursday, February 20, 2014

An Elf Moment!

Yes, I know it seems like Christmas was an eternity ago and I should have finished and blogged these photos in December - but It didnt happen. I'm still showing them now because I really wanted to show off (again) the fun stamps I used by Kellie Stamps, the Elf mini 2013 and the Christmas Tradition stamp set - both are still available in the storeRemember to use the code "KELLIESTAMPS" to get 15% off your Kellie Stamps order when you spend $10 or more.

I've continued keep the pages in this folio (the Holiday SMASH* folio) relatively simple and the basics for most pages were paper doilies, bags and tags (for journalling), die cuts from Pink Paislee Snow Villiage collection & Studio Calico Magical collection, gold numeral Thickers from American Crafts, stamps and wood veneer.

On this page I've used stamps from Kellie Stamps - "Funny little elf", "The Elf", the circle Elf and "Cheeky" from the Elf mini 2013 stamp set. 
I've added white & green bitty bloomsgreen and red star mini sequins, Freckled Fawn gold arrow and dew drops, all from D-Lish Scraps. Lastly I've added an APOCD elf flair, a Prima wood veneer Christmas tree, and a brown & green flower from my stash. 
On these next pages I've used stamps from Kellie Stamps - "oh christmas tree", "christmas time is beaut", "moment", and "party" from the Christmas Tradition stamp set 
I've used another of the gorgeous Elf flairs from APOCD - arent they just gorgeous! They come in both boy and girl elf varieties - I had to have both!!

Thanks so much for stopping by
Crafty Hugs xx

Monday, February 17, 2014

Just Be You!

For today's scrapbook page I've creating another fun background by spraying mists, stencilling with inks and stamping. But this time I've used purple and teal - colours from the Lilac haze Just Add Paper Kit. I often use teal but I rarely use lilac/purple. Now I'm in love with these colours!! Once again I just love the look of my background so I just added some embellishments and tags - no patterned papers! 

These photos are of my youngest daughter Jessica. She was playing in her cubby house kitchen making me a sawdust muffin - I captured these with my zoom lens while she was busy.
 
I used lots of goodies from the Lilac haze Just Add Paper Kit on this page - I just love these kits, everything is coordinated - makes scrapbooking easier!

In the bottom right corner I added the date using my Pebbles roller date stamp. I sprayed one of the nested frames from the Kit with purple Dylusions and added some strips of washi tape and an adhesive pearl (the purple polka dot tape and the pearls are from the Kit).
In this cluster I've used the aqua shabby chiffon flower, a violet old fashioned rose, lavender resin butterfly, purple mini metal flower, lavender bitty bow, self adhesive pearls, "lovely" Journal It tag, and flair - all from the Lilac haze Just Add Paper Kit. I also added a white Daisy and a Metal Filligree leaf
In a cluster at the top of the photo I added a white Azalea, a blue Cosmos Daisytwo small Metal Filligree leaves, an aqua Viola, and a purple cabachon Resin Flower. I also added a dragonfly button from my stash.
I layered my photos on a white paper doilie, a glassine bag and tag from my stash. The purple twine is from the Lilac haze Just Add Paper KitI used some stamps from Kellie Stamps on my photos - "I love you to the moon" from the Mothers Day 2013 stamp set and the arrows from the You are the Best stamp set.
I added a title using some alphas from my stash and attached an aqua bitty bloom from the Kit. 

Thanks so much for stopping by
Crafty Hugs xx

Thursday, February 13, 2014

Christmas SMASH*ing - Still Going!

I was very happy to finish my Christmas SMASH* journal by the end of January! It has taken me a while to get it all photographed and blogged. 

These pages show more of the adventures of our elves Elfie and Sparkle. They had a sack race with Jessica's toys (she was not impressed and immediately removed some of her favourites from the race lol), they rode in Barbies carriage, Elfie got all tied up in the toilet paper, they had a tea party and tried on some of Rachael's high heels (dont you just love the colour!).

I tried to keep most of the pages in this folio (the Holiday SMASH* folio) relatively simple and the basics for most of the pages were paper doilies, bags and tags (to hide my journalling), die cuts from Pink Paislee Snow Villiage collection, diecuts from Studio Calico Magical collection, gold numeral Thickers from American Crafts, stamps, enamel dots and wood veneer.
I love adding stamps on my photos and pages, here I've used some from Kellie Stamps - "Funny", "Elf", the circle Elf and "Cheeky" from the Elf mini 2013 stamp set.
Thanks so much for stopping by
Crafty Hugs xx

Monday, February 10, 2014

Sweet Child Of Mine!

I've just loved creating backgrounds for my scrapbook pages recently. I've used a similar technique on this page as for my last post with spraying, stencilling and stamping. I just love the funky grungy look and didnt want to cover it up - I've added no patterned papers! 

I've used pink and orange on this page - colours I would not normally use with photos of Rachael but it just seemed to work. I love this photo of Rachael. I get these looks all the time. She wont pose for any of my photos but will take plenty of selfies herself!
I layered my photo over a white paper heart doilie, chevron bag and tag (from my stash) then I added lots of yummy D-lish Scraps embellishments. The pink fabric tape is from the Neon Pop Just Add Paper Kit. 
I wrote my journalling on a chevron Journal Spot and clustered a pink 30mm Double Crocheted flower, a white Forget Me Not, white Lilly, orange Cosmos Daisie, pink Polka Dot Heart Button, funky heart Wooden button, and pink neon resin heart.
For the title I used a Heidi Swapp word sticker and my Motex tape writer with pink tape. I also added a Heidi Swapp Happy Day arrow sticker and pink Wooden Shapes sunglasses.  
Around the photo I added a silver freckled fawn paperclip, some Washi (on the tag), rainbow Tickets and black Tiny Girl Cabochon. I used a stamp from Kellie Stamps "you make me smile" from the Just for you stamp set and the chevrons from the Hello arrows stamp set.
In the top left of the page I added some neon Freckled fawn Dew Drops and Acrylic Splat Beads. On the top right of the page I added a Ticket with the date stamped using a Pebbles roller date stamp. I then clustered a pink crochet flowers, an orange polkadot button, and a pink Moustache Bead.

Thanks so much for stopping by
Crafty Hugs xx

Tuesday, February 4, 2014

Happiness Is This!

Things have been crazy busy here lately with school holidays, then School went back, I've been doing business paperwork, and I've been catching up on my Christmas SMASH*ing and scrapbooking - which is finished now, and I cant wait to show you ... soon. I've been trying to write this post for 2 days now and I cant seem to get it finished!

But back to this current project, I really enjoyed finding a non-Christmas photo and trying out some different mixed media techniques on a scrapbook page. I have been inspired by a number of amazing online Scrapbookers - one of which is the talented Christin. I love the pretty backgrounds she creates, the way she layers lots of patterned papers, and the white space on her pages.

To make the background for this page I started by painting Gesso over my entire page and letting it dry. I then sprayed some green Dylusions over a large section of my page and in the bottom corner then tipped the page so the spray would drip/run. Once this was dry I randomly added a few sprays of yellow Dylusions then tipped my page so the spray would run also. I then added some spats of red and pink Dylusions randomly across the page. Once this was completely dry I sponged over a stencil with a grey inkpad in a few places. Then I stamped a few background stamps randomly.
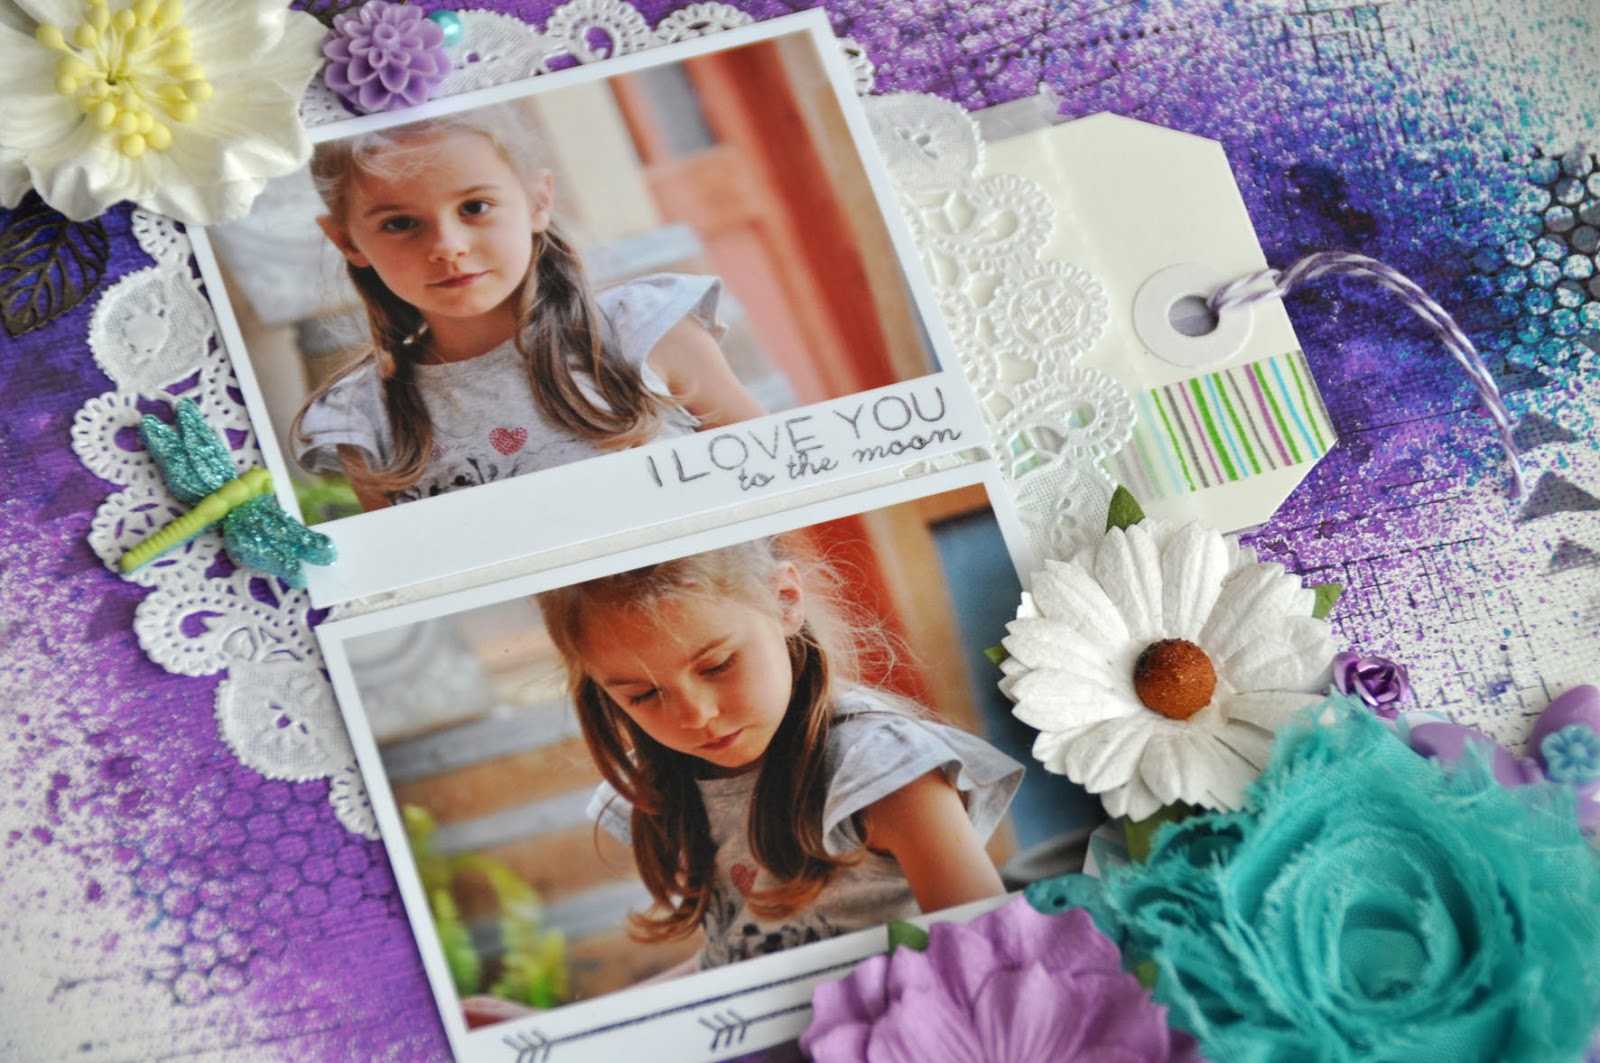
Next it was time to layer some papers. I delved into my paper stash and chose some October Afternoon Sidewalks papers - I love the colours and patterns on these papers! I also added some paper doilies.
The next fun part was to add lots of yummy D-lish Scraps embellishments. I wrote my journalling on a chevron Journal Spot and clustered a yellow fancy edge pick 'n' place bow, a yellow Crocheted Mini Bloom and a white Forget Me Not. I added an adorable wooden deer button near the photo and for my title I used a Heidi Swapp word sticker and some alphas from my stash.
In the bottom corner of the page I added a micros feathers (sprayed with blue Colorshine), a white Forget Me Not, a blue Cherry Blossom, a yellow polkadot button, and a green resin mini daisy. I also added a coloured doily from my stash and I used a Pebbles roller date stamp.
Near the photo I clusterer a large seagreen Old Fashioned Rose, green polkadot button, cream Cosmos Daisies, blue Lillies, a blue Resin Flower, and another micros feathers (sprayed with blue Colorshine).
Lastly I added a yellow Forget me nots  and a  white bitty blooms at the top.

Thanks so much for stopping by
Crafty Hugs xx