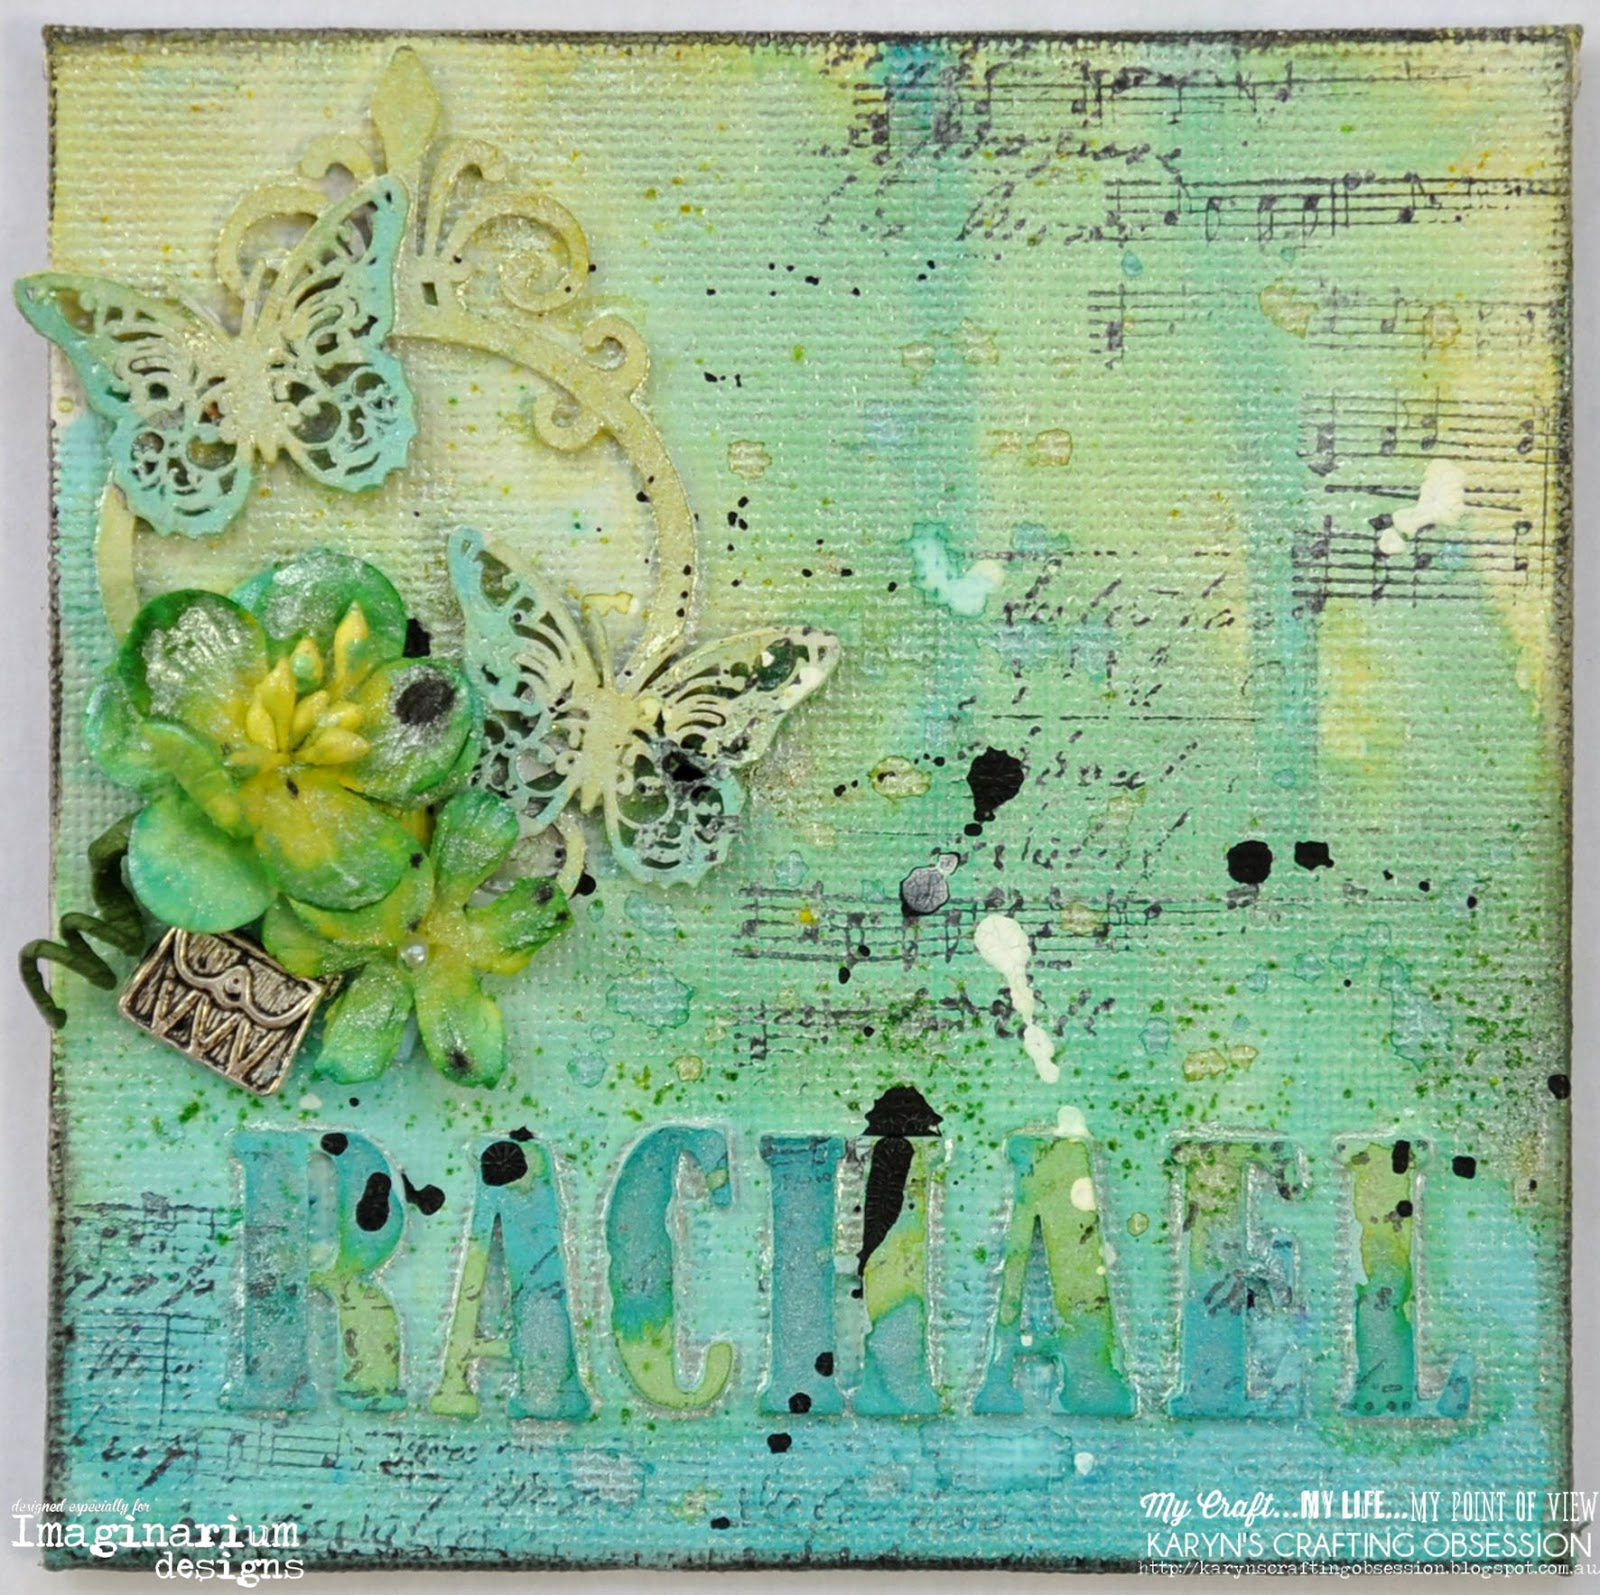
Today I'm sharing 2 mini canvas nameplates made using lots of gorgeous Imaginarium Designs chipboard. The theme for the DT this month is "canvas". I dont often do canvas projects but I had these small canvas boards (10cmx10cm) and wanted to try some mini creations :)
Here are some step by stem photos of my creative process. I started by selecting the chipboard I wanted to use on each canvas and gluing it down. Then I applied white gesso over the entire canvas.
Next I mixed a bit of each of my Lindy's "Drop Dead Diva" Magicals into a palate and added water - so I could apply to my canvas with a brush. I applied with a brush first to get the overall effects I was after then I also added some Magicals direct to the canvas in places.
Here is the finished first step with the painting. Once this had dried I added some flowers and painted these as well.
Once it was all dry again I added some stamping and used a black gelato to define the edges. I also added some black and white paint splatters with my Posca paint pens (I wish i hadn't done this actually!!).
Here are some photos of the finished canvases!
Imaginarium Designs chipboard I've used includes
Denises flourish 1 medium and small: Code IDD0002 and IDD0003
capital letters : code IDAUC0001
Lower case letters : Code IDALC0001
brackets on oval : code IDT0022
4 small butterflies: Code IDT0014
Thanks so much for stopping by
Crafty Hugs xx
Karyn
Today I'm sharing 4 tags I made using lots of gorgeous Imaginarium Designs chipboard.
I dont often make tags but I always admire what others create so I thought I would give it a go, and it was a great excuse to use some of the Prima Tag Pad I purchased many years ago and have never used!!
The first 2 tags I made were masculine coloured. I started by selecting some chipboard and adhering it to the tag. I also added some magic mesh for dimension. I then applied some Art Anthology velvet dimensional medium (blue, brown, and purple) across my page using a palate knife.
These paints are somewhat transparent - sort of like a tinted gel
medium.
Then I added some Lindy's Magicals (blue, black, gold, brown and pink). To finish I added some stamps, beads applied with soft gloss gel, twine and a metal charm, black paint splatters and I used a Fude Ball pen to define the edges.Here is the finished tag.
For the second tag I gesso'd over the chipboard after I had adhered it to the tag and I added some twine before painting (I also used a stencil). I used Lindy's Magicals (blue, black, gold, brown and pink) to add colour. To
finish I added some ribbon, black paint splatters and I used a Fude Ball pen to
define the edges.Here is the finished tag and a closeup.
The next 2 tags are more femenine. I started by selecting some lace and the chipboard, adhering it to the tag and applying gesso (the gesso stops too much paint and water being absorbed by the chipboard).
Then
I added some Lindy's Magicals (pink, purple, yellow). To
finish I added some stamps, beads applied with soft gloss gel, a metal charm, black and white paint splatters (from a paint pen), ribbon, and I used a Fude Ball pen to
define the edges.Here is the finished tag and closeup.
For the last tag I've used Lindy's Magicals (blue, green, purple, yellow). To
finish I added some stamps, rocks applied with soft gloss gel, black and white paint splatters, lace and I used a
Fude Ball pen to
define the edges.Here is the finished tag and closeup.
Imaginarium Designs chipboard I've used includes
Denises flourish 1 medium and small: Code IDD0002 and IDD0003
Edward relief collection : code IDC0009
Loolabelles chevrons #2: Code IDDL0022
Explore Adventure Discover : code IDW0100
Smile Laugh Live Love : Code IDW0087
Loolabelles nested arrows : code IDDL0018
Nats hearts 1 : code IDD0042
Nats hearts : code IDD0043
Thanks so much for stopping by
Crafty Hugs xx
Karyn