Today I have another Scrapbook page to share made using the amazing 7 Dots Paint Chips paper collection along with lots of gorgeous Imaginarium Designs chipboard.
As soon as I saw the sheet of 7 Dots "Aquamarine" paper I knew I wanted to incorporate a Peacock feather (One my daughter recently found at a friends house). I also had the perfect photo taken on our recent holiday to Hawaii :)
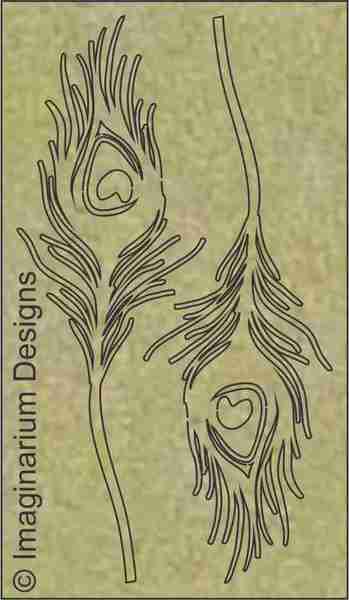
In keeping with the feather theme I selected a feather stencil and chipboard all from Imaginarium Designs and went from there. I applied 3 different colours of Colour Blast paste (Stormy, Apple and Deep water) through my stencil - these pastes are just amazing as is the stencil!!
I did 2 copies of the stencil - making sure to let each dry and wash the stencil properly between each.
I coloured my chipboard with Glimmer Glaze in a variety of colours - allowing the colours to blend together while they were still wet.
My photo is matted on book paper, some Tim Holtz Tissue paper and piece of 7 Dots Paint Chips "Underpaper".
I kept embellishments minimal to allow the feather and chipboard to shine!
How beautiful is this feather!!
Imaginarium Designs chipboard I've used includes
Thanks so much for stopping by
Crafty Hugs xx
Karyn
Recently I purchased the amazing 7 Dots Paint Chips paper collection. I am in love with these papers - I wish I had bought 2 of each!!
I used a sheet of the "Razzleberry" paper to make this scrapbook page along with lots of gorgeous Imaginarium Designs chipboard.
I've also followed the 7 Dots Studio April challenge which has the following moodboard - arent those colours amazing!!
I started with the sheet of 7 Dots Paint Chips Razzleberry paper and added Colour Blast paste (Stormy Weather) through a stencil (Corn cob etching). When this was dry I added stamping of AallandCreate #10 stamp set with pink and black archival inkpads.
Next I added archival inks through a stencil (7 Dots Homegrown Floral).
My photo is matted on a piece of 7 Dots Paint Chips "Underpaper", some Tim Holtz Tissue paper and a torn piece of book paper.
All of my chipboard has been coloured with Glimmer Glaze in different colour shades - giving an ombre effect - arent the flowers so delicate and pretty!
After completing my page I added paint splats in pink and black using Prima Watercolor Confections - Originals (my new fav watercolour paint set).
In the top left corner I added paper into a tag shape, a tag, torn book paper (actually an old dictionary page), sewing thread and chipboard alphas - also coloured with Glimmer Glaze.
I printed out some journalling on copy paper then painted it with Colour Blast shimmer spray (Lovely Lilac) then cut out each line and attached to my page.
More torn book paper, tissue paper, thread and paint splats have been added in the bottom right corner - I love how vibrant the paint splatters are!
Imaginarium Designs chipboard I've used includes
Thanks so much for stopping by
Crafty Hugs xx
Karyn
Today
I have some Art Journal pages to share with you, made using lots of fun products available in the Scrapping Clearly Store.
I love art journalling. I love that there are no rules and that I can experiment with techniques before applying them on a scrapbook page. I love looking at all the wonderful masterpieces that other art journallers create. I struggle at times though with finishing off my pages. I love to work on the background but then I struggle with the "final layer". In scrapbooking you have a photo - now I need some other element. I think that part of my problem is that I love the background and dont want to cover it up!!
I recently purchased the 6 newest Dylusions paints (Peony blush, Mushy Peas, Laidback Lilac, Periwinkle blue, Vanilla custard, Rose quartz). Initially I wasnt sure of the colours. They seem quite pastelly compared to the other colours in the range - but I now LOVE LOVE LOVE them!!
I started by using a spatula to apply them to my pages. I started with the lightest colours and worked my was through to the darker colours.
Then I used an old credit card to add some black paint swipes. When this was all dry I used a honeycomb stamp with Ranger Archival ink pads (black, green and pink). I'm loving using Archival ink pads at the moment as they are permanent ink and perfect for art journalling. Next I added some splatters of carbon black Liquitex ink and lime Tattered Angels chalkboard glimmermist .
Next I stamped a variety of Jane Davenport Mermaid stamps on a scrap piece of paper that I had been swiping excess paints on. I cut these out along with a seaweed shape to place on my page.
Here is my finished page. I also added some Tim Holtz small talk stickers - my fav stickers!!
Here is a close up of my mermaid peeking out from behind the seaweed. I also added some sparkly glitter glue in places.
Since I was having so much fun with these colours I made a second page. This time in my Small Dylusions journal.
I started by covering my pages with the Peony blush and Vanilla custard Dylusions paints, then adding swipes of Rose quartz,
Mushy Peas, Laidback Lilac, and Periwinkle blue.
Then I used an old credit card to add some black paint swipes. When this was all dry I used various stamps with Ranger Archival ink pads
(black, green and pink). Next I
added some splatters of carbon black Liquitex ink and lime Tattered Angels chalkboard glimmermist .
Next I stamped a Jane Davenport Mermaid stamp on my page and highlighted parts with sparkly glitter glue. I added some Tim Holtz small talk stickers under my mermaid then added some marks across my page with Posca paint pens.
Thanks so much for stopping by
Crafty Hugs xx
Karyn