Sunday, January 15, 2023

Christmas 2022 - With Bee Arty!

 Hi Lovelies!

Today I have a Christmas Album to share with you made using lots of fabulous arty products from Bee Arty.  


 This year I really wanted to create an album celebrating Christmas. I wanted to do a pocket page scrapbook album and I wanted to complete it in a timely manner. December is always so busy and I really wanted to be able to spend 30mins crafting a day. It didn't quite turn out that way, but I did finish it by 5th January (winning!). 
 
To make it achievable I chose a smaller album - this is approx 8" x10". I took 1 photo a day using my Instax camera (instant photo printing). And lastly, I limited my craft supplies!
 
I used 2 mini paper collections released by Bee Arty in 2021 Home For Christmas and Nutcracker Sweet. Each collection is 5 pages (double sided) with 2 pages used for tags/fussy cutting and the rest for the pocket pages. I used the Numbers die set from the Fireworks collection, Aussie leaves metal die set and Aussie Flowers metal die set from the Aussie Bushland collection. Also the Wildlife Stamp set. For painty colours I used Colour Shimmer Dust (Fern, Tan, Wine, Midnight and Candy) and Colour Mica Powder in Emerald. I used White, Black, Silver and Kraft Cardstock.
 
I finished my pages with gauze, hessian, tags, envelopes, black paint pens and a black archival inkpad
 
 Here are some pics of the pages.


Thanks so much for stopping by

Crafty Hugs xx


Sunday, November 20, 2022

By The Sea - With Bee Arty!

  Hi Lovelies!

Today I have a scrapbook page to share with you made using lots of fabulous arty products from the new Saltwater collection at Bee Arty.  

 
 I wanted to create a mixed media element to add to my background so I started with a sheet of 350gsm Heavy White Cardstock cut down to 21cm x 25cm. I used a painting with plastic technique to apply Oasis and Mermaid Colour Artist Ink. I started with straight ink on the plastic but found the colour depth too deep for my liking so I experimented and added more water to the ink with each application of the "painting with plastic". This resulted in lots of shades of each of the 2 colours. I let each application/colour dry before applying the next. Lastly I added Bling Mica Powder mixed with water in places across the page. 
 
I felt that this painty page had too much colour and was too "busy" but once it was attached to a background piece of Vast and Deep Paper (reverse) and had 2 photos placed at the top I was happy with the effect.
 
Here is my completed page. 
 
 
Under my photo I added some white gauze and diecuts created using the Sea Script Metal Die and papers from the Saltwater Paper Collection Pack.
 
 Images were fussy cut from the Something Fishy Paper. The title is cut from the H2O Paper. The white gauze, cabochons, wood veneer, flair, and metal flip-flops are from my stash.


Thanks so much for stopping by

Crafty Hugs xx


Sunday, November 6, 2022

Let's Make Waves - With Bee Arty!

  Hi Lovelies!

Today I have a scrapbook page to share with you made using lots of fabulous arty products from the new Saltwater collection at Bee Arty.  
 
 
 I started with a sheet of 350gsm Heavy White Cardstock and added stencilling using the School Of Fish stencil and Snow White Colour Paste.

 
Next I added colour to the background. I mixed colour in 3 Mini Misters. In the first Mini Mister I mixed 3 drops Oasis Colour Artist Ink, small scoop Snow White Mica Powder (for bling) and 9 drops water. In the second Mini Mister I mixed 3 drops Mermaid Colour Artist Ink and 9 drops water. In the third Mini Mister I mixed 3 drops Lime Colour Artist Ink and 9 drops water. Each colour was sprayed onto the page as shown, letting each colour dry before applying the next colour. If you want a darker or lighter colour add less/more water in each mister. Then I added splatters of each colour.


I added background stamping using the Salty Dots stamp and a blue ink pad, then the bubble stamp from the Aquatic Life Stamp Set and a yellow ink pad. This stamping was done under/around where the photo was going and along the left edge of the page (sorry, no photo). 
 
Here is my completed page. 

 
I matted my photo using papers from the Saltwater Paper Collection Pack. I've added diecuts using the Sea Script Metal Die and papers from the Saltwater Paper Collection Pack. Images were fussy cut from the Something Fishy Paper. The white gauze, cabochons and metal starfish are from my stash.

 
I added a barcode strip, from one of the papers in the Saltwater Paper Collection Pack, along the LHS as well as an embellishment cluster using more fussy cuts and a title from the H2O Paper. Using dimensional foam under titles and fussy cuts adds texture and dimension to the page.
 

I just love the colours and designs in this collection :)


Thanks so much for stopping by

Crafty Hugs xx


Sunday, October 23, 2022

Be Kind - With Bee Arty!

 Hi Lovelies!

Today I have a scrapbook page to share with you made using lots of fabulous arty products from the Bee The Sunshine collection at Bee Arty
 
  
I started with a sheet of 350gsm Heavy White Cardstock and added a watercolour wash using Tan Shimmer Dust

 
I added background stamping using the Find Your Way stamp and Brown Archival ink. Then I added black splatters using Midnight Shimmer Dust
 
Here is my completed page. 

 
 I used photo mats from offcuts of Bee The Sunshine collection papers and book paper. Words are from the Honey paper in the collection. I've used black cardstock and book paper diecuts created using the Flower Stems metal die set and a black cardstock bee diecut created using the Wingspan metal die set.

 
 I used the Floral Arrangement stamp set to stamp on some hexagon wood veneer and also direct to the page (using a brown ink pad)


Thanks so much for stopping by

Crafty Hugs xx


Monday, August 22, 2022

Love Grows Here - With Bee Arty!

 Hi Lovelies!

Today I have 2 scrapbook pages to share with you made using lots of fabulous products from the new  Rustic Blossom Collection available at Bee Arty.  
 
 
For the first page I started with a sheet of 350gsm Heavy White Cardstock and added a watercolour base using Tan Colour Shimmer Dust (mixed with water). 
I added some stencilling using the Rustic Script A4 stencil and Tan Colour Shimmer Dust (a concentrated colour mixed with water and applied with a sponge).  
The photo was matted with papers from the Rustic Blossom Paper Collection Pack
I added diecuts using the Blossom Gear metal die and White and Black cardstock.
I then added words cut from the Storytime Paper and fussy cuts from the Owl Remember Paper.
Lastly I added splatters of Tan Colour Shimmer Dust and outlined my page using a fine black Life of Colour paint pen.
 

For the second page I started with a sheet of 350gsm Heavy White Cardstock and added a square watercolour base using Peacock Colour Shimmer Dust (mixed with water). 
I added some stencilling using the Rustic Script A4 stencil and Deep Water Colour Paste
I added some stamping using the flower stamp from the Owl Punk stamp set and black Archival ink.
The photo was matted with papers from the Rustic Blossom Paper Collection Pack
I added diecuts using the Blossom Gear metal die and White cardstock and Silver Net Mirror Board.
I also added words cut from the Storytime Paper.
Lastly I added splatters of Peacock Colour Shimmer Dust and outlined the painted blue section using a fine black Life of Colour paint pen
 
Thanks so much for stopping by

Crafty Hugs xx


Sunday, July 24, 2022

Simply Perfect - With Bee Arty!

Hi Lovelies!

Today I have a scrapbook page to share with you made using lots of fabulous arty products from Bee Arty.  
 
 
 I started with a sheet of 350gsm Heavy White Cardstock and spritzed it with water along the right and left of the page (where I wanted to add colour). Then I used a fan brush to add Cool Mint Mica powder. I  continued to spritz more water and add more colour until I had achieved the desired look. 
 
 
Next I added some stencilling using the Honeycomb Spray A5 stencil and Stormy Weather Mica powder (mixed with water and applied with a sponge). 

 
I added stamping using the Find Your Way stamp and Black Archival ink
 
 
 I used a combination of Jet Black and Taupe Embossing powders from the Romance Embossing bundle. You could use any combination you prefer (or a single colour), but I love the rustic look of multiple colours.
 
 
Here is my completed page. 
 
 
 I added a photo mat from Chit Chat Alpha paper and black cardstock diecut created from the Compass metal die.
 
 
 The white cardstock diecuts are created using the Flower Stems metal die set.
 
 
Thanks so much for stopping by

Crafty Hugs xx


Sunday, June 5, 2022

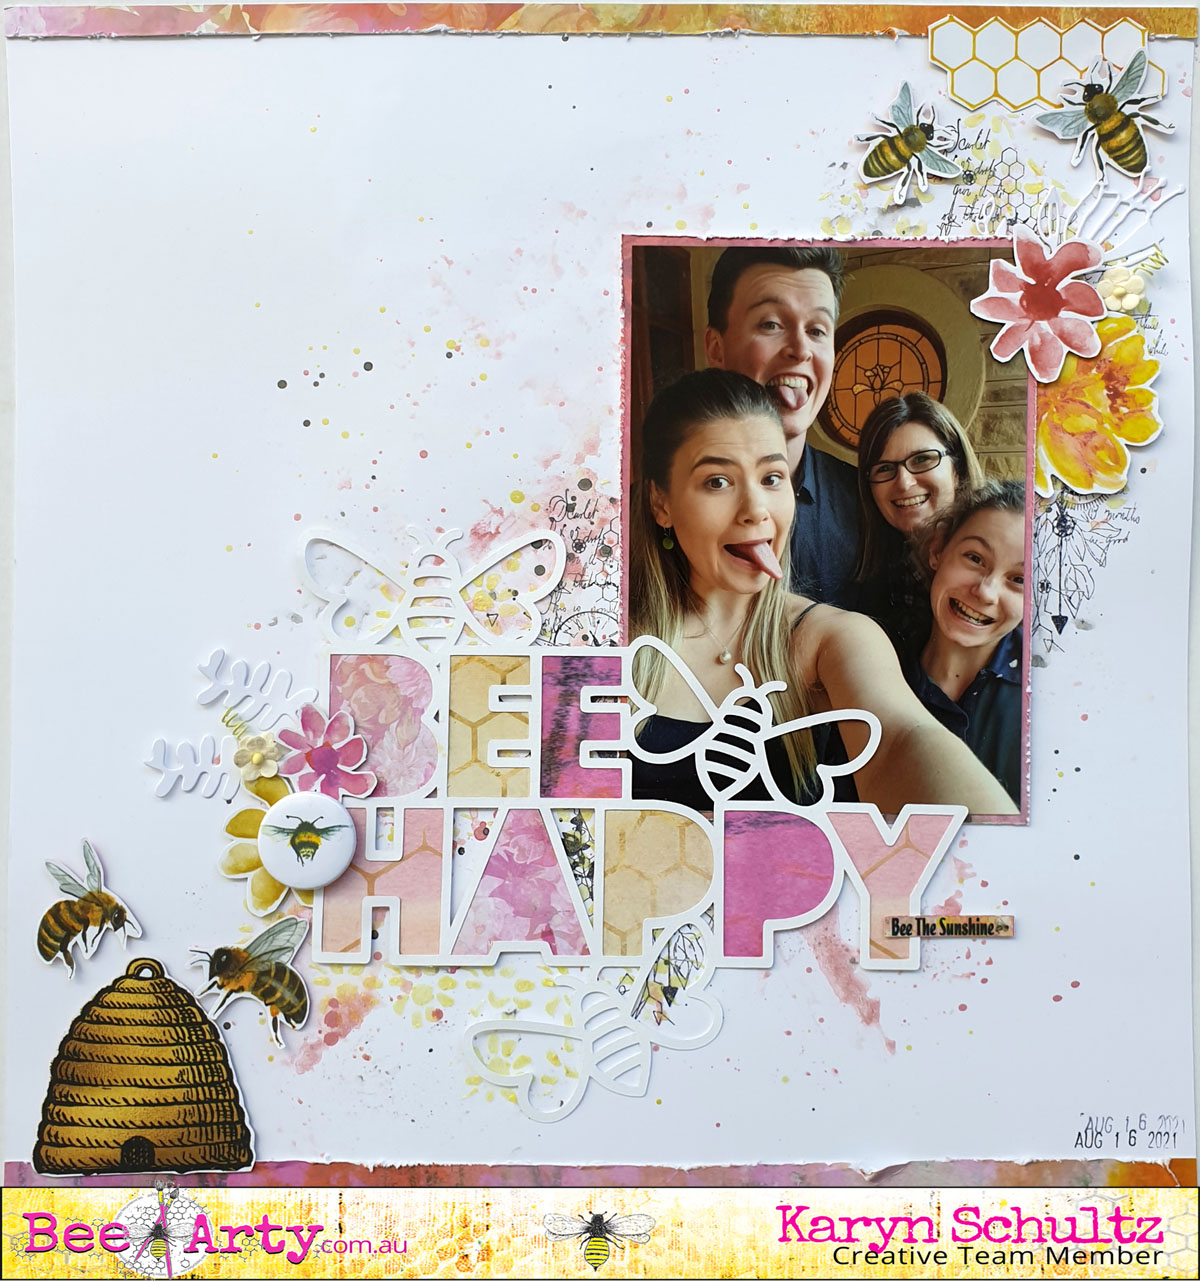
Bee Happy - With Bee Arty!

Hi Lovelies!

Today I have a scrapbook page to share with you made using lots of fabulous arty products from the Bee The Sunshine collection at Bee Arty
 
 
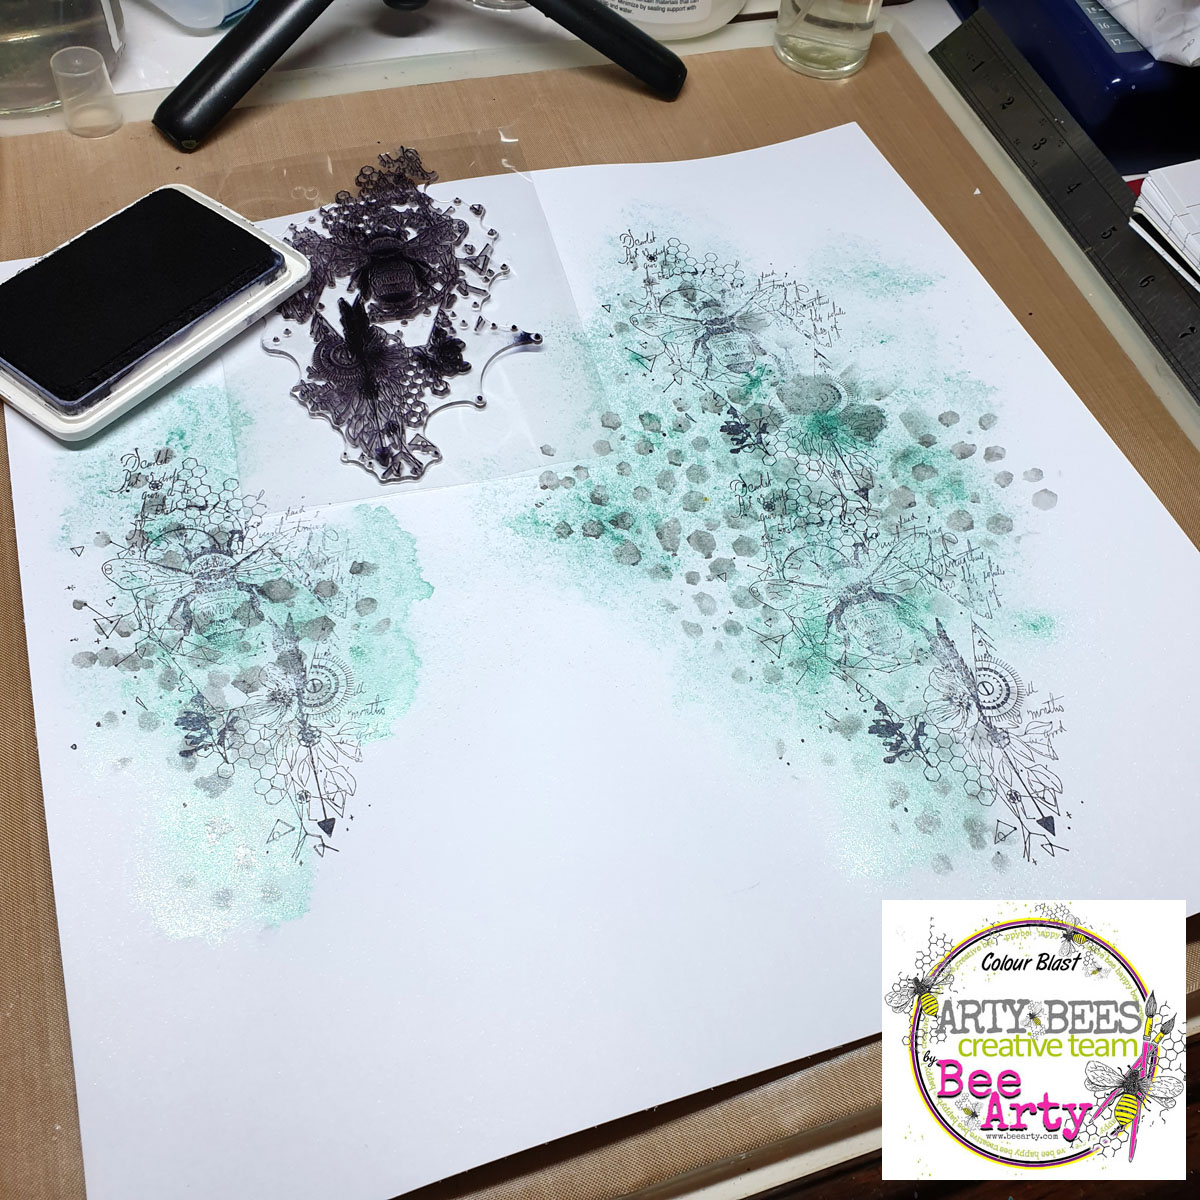
I started with a sheet of 350gsm Heavy White Cardstock and used a painting with plastic technique to add Blush and Stormy Weather Mica powders.
Then I added splatters of Blush, Stormy Weather and Lemon Zing Mica powders.

 
I added stamping using the Find Your Way stamp and Black Archival ink
 
 
I added texture to my page using the Abstract Daisy A6 stencil and some Lemon Zing Mica powder mixed with heavy gloss gel.  


Here is my completed page. Look at these ratbags!
 

To complete the page I've added photo mats and strips of paper along the top and bottom of the page using Bee The Sunshine paper offcuts. 
I've used a free cutfile from Paige Taylor Evans and backed it with more offcuts from the Bee The Sunshine collection pack
Fussy cut images are from the Sunny Days paper.  
I've added diecuts from the Flower Stems metal die set created using 250gsm White Cardstock.


Thanks so much for stopping by

Crafty Hugs xx