Today I have a different kind of project to share with you made with lots of products from Scrapping Clearly. It is a handmade birthday journal made to fit inside the Heidi Swapp journal covers.
This is quite a long post with lots of photos (nearly 30) so you might like to make yourself a cuppa and take your time :)
I was inspired to make this journal by the gorgeous new Heidi Swapp minc collection journal covers available at Scrapping Clearly. I have a gold cover - you can never have too much bling!! I decided to make my own journal to go inside the cover - filled with photos from Jessica's 8th birthday at the zoo.
I started by selecting the main papers and embellishments I wanted to use for the journal. I chose a selection of papers from the Pebbles "Spring Fling" paper collection and the Heidi Swapp Minc "Gratitude" kit.
I cut the paper into a number of sizes 10"x7" for the cover, then 9 3/4" x 6", and 9 3/4" x 3 1/4", a file folder from the gratitude kit, a large paper doilie and a card from the Gratitude kit. You can add more or less pages as you prefer in your journal. I like to add a selection of sizes and shapes.
At this point I used my Minc to add foil to all of the elements in the Gratitude kit. I used 2 colours of foil - mint and light pink, and did roughly half of each colour.
Next I used my sewing machine to join the papers together. Just go slow and use a long stitch!
Here it is - looking pretty already.
Then it was time to decorate. I like to have all my photos ready and a limited range of embellishments and papers. I go through page at a time and then lastly go over again and add paperclips, ribbon, enamel dots etc.
Here is the finished journal - starting with the cover.
A project like this could take weeks to make if you fuss over each page. I've used a clean and simple approach to keep the project achievable. Limiting your supplies really helps.
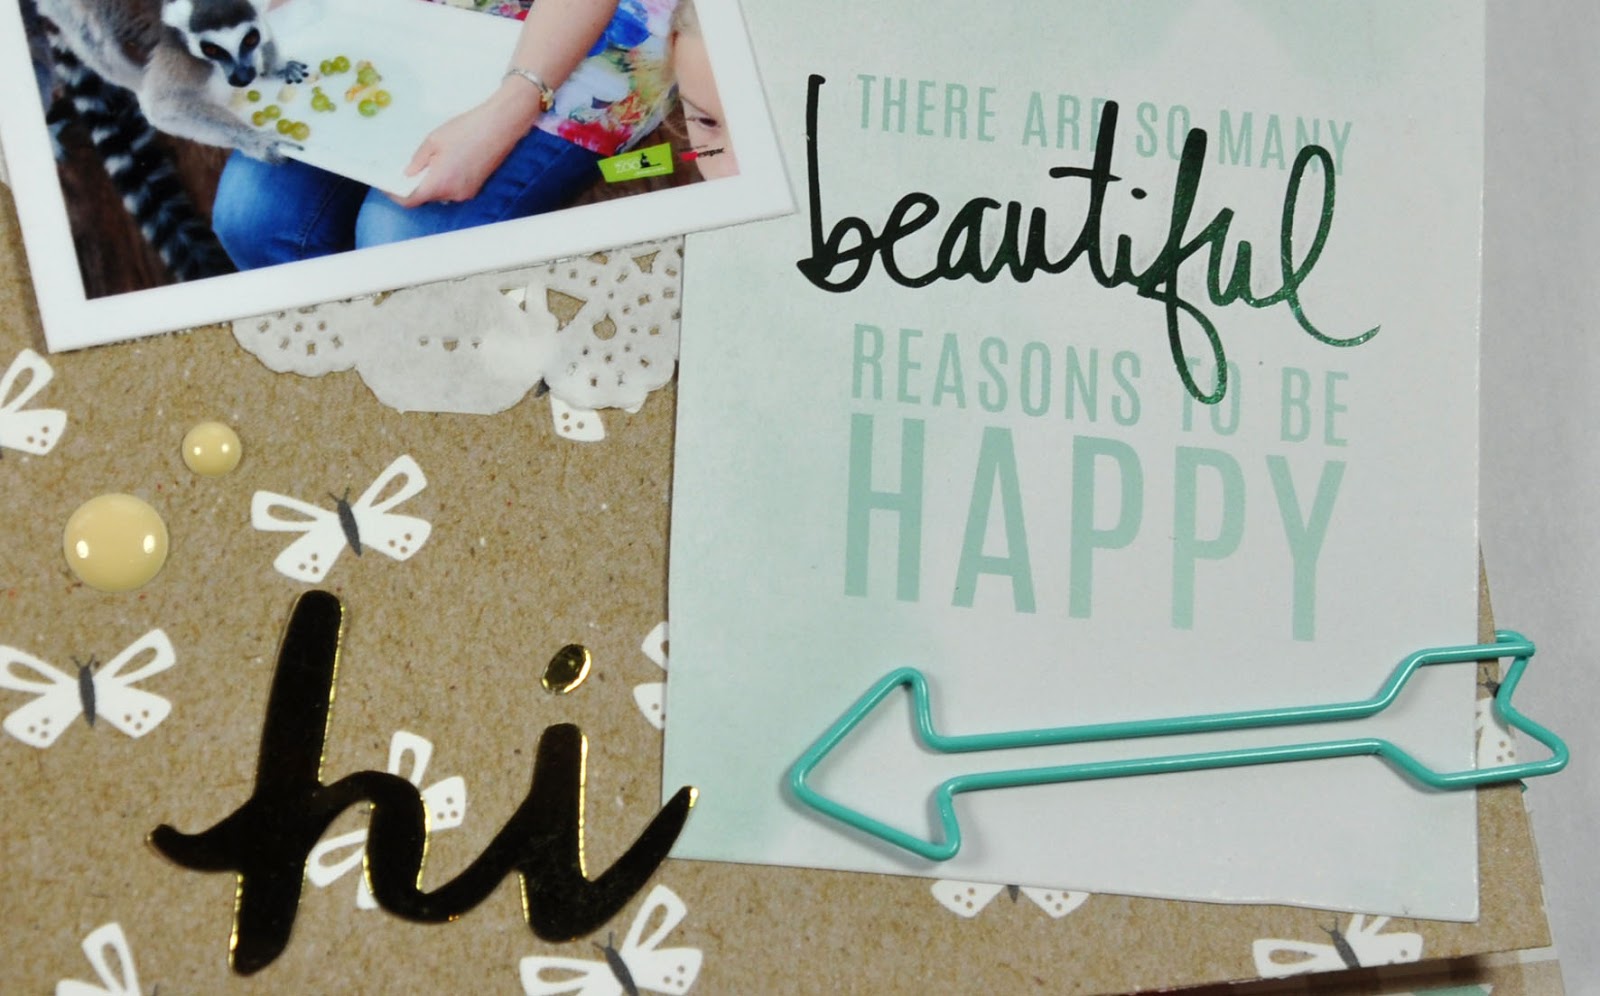
I love the tags in the Gratitude kit, they have beautiful sayings and are lovely and sparkly in real life.
For Jessica's birthday we had a "Lemur encounter" at the Adelaide zoo - such a special experience.
Doilies and ribbons are great embellishments for these projects.
One of the sheets of Pebbles papers had lots of elements that could be cut our and included on pages - I like these papers in collections!
I love the finished journal with the different sized pages in it. it allows you to see a peek of what is underneath and gives more of a layering look.
Journals like these never have too many paperclips or ribbons!
This photo is one of my favourites - I cant believe we were so close to these beautiful animals!
Gold alphas and accent stickers always work well with any page - they just are hard to photograph.
I've used up lots of scraps of ribbon on my pages.
My handsome honey!
This Pebbles paper collection is so sweet and versatile. I love all the kraft pages and patterns.
There were some diecut words in the Gratitude kit, I've used "moment" here. I did try and spray another one with ColorShine but the paper is too thin and it didnt hold up.
You can see some of the lovely foiling in this photo. The beauty of the kits is that you can add whatever colour foil you prefer.
Strips of papers work really well on pages. I like to use all the barcode strips on the bottom of the pages.
Here it is all finished.
Now it is finished It is time to put it in the cover. Isn't it pretty.
I'm so happy with how it turned out. A special keepsake for Jessica
Scrapping Clearly products I've used include
Heidi Swapp minc collection gold journal cover
Heidi Swapp minc reactive foil - mint Heidi Swapp minc reactive foil - light pink
Heidi Swapp Minc variety pack "gratitude"
Pebbles "Spring Fling" paper collection
Pebbles "Spring Fling" stickers
Pebbles gold accent stickers
Pink Paislee "C'est la Vie" paper clips
I print my photos on an Epson XP-600 printer.
Thanks so much for stopping by
Crafty Hugs xx
Karyn
The project theme this month with Imaginarium Designs is to create a birthday card for Nat's daughter who is turning 13! I've used my laser printer and Minc to create a personalised card and embellished it with some gorgeous Imaginarium Designs chipboard.
I love to make personalised cards - especially for special occasions! Mind you all birthdays are a special occasion!!
This card is 14cmx14cm and I've used a sheet of A4 cardstock for the card base. I design then print the name and sentiments along the top and bottom of the cardstock. I use MS Word to do this. I work out the positioning of the writing first by printing on A4 copy paper and when I'm happy with the placement I print
onto the cardstock. You must print with a laser printer so you can add the foil later. If you dont have a Minc/foil it still looks nice with just the black printing.
The magic happens next with my Minc and gold foil. I'm loving adding foil to everything at the moment!
I've then added some layers of the Heidi Swapp "Hello Gorgeous" paper collection.
To embellish I used a "wrought iron" chipboard element. I sprayed it with 2 coats of Heidi Swapp ColorShine. When dry I painted some glitter paste around the edges. For this project I used some BoBunny glitter paste but you can easily make your own glitter paste (in
any colour you want to) by mixing some glitter with soft gloss gel.
I sprayed the chipboard numbers with gold ColorShine (2 coats) then painted on more of the glitter paste on the top half of each.
Finally I added a black bling strip along the bottom of the papers and a vintage element from my stash.
Imaginarium Designs chipboard I've used includes
Wrought Iron : code IDFL0016
Numbers : code IDN0001
Thanks so much for stopping by
Crafty Hugs xx
Karyn
Hi Lovelies!!!
The June monthly challenge over on the Scrapping Clearly blog is an inspiration challenge - these colours are just devine dont you think!! You should give the challenge a go and be in the running to win some scrappy goodies!!
I've used these colours as inspiration for a birthday card I made for a gorgeous friend of mine - made using lots of goodies from Scrapping Clearly of course.
I often like to make larger square cards - this one is 14cmx14cm and used a sheet of A4 paper for the card base. I'm also loving using my Minc and foiling everything possible!! I printed (using a laser printer) my friends name and a sentiment on the bottom of the cardstock. I use MS Word to do this. I work out the positioning of the writing first by printing on A4 copy paper and when I'm happy with the placement I print onto the cardstock. Sometimes the printer can be a bit temperamental and I have to remember to change the settings to "cardstock" instead of "plain" paper.
The magic happens next with my Minc and gold foil - isn't this pretty!! And it is so personal!!
I've then added some layers of the Heidi Swapp "Hello Gorgeous" paper collection and a strip of glitter cardstock.
To embellish I used a chipboard element from my stash. I sprayed it with 2 coats of Heidi Swapp ColorShine. When dry I added some glitter paste around the edges. You can easily make your own glitter paste (in any colour you want to) by mixing some glitter with soft gloss gel. I just mix a small amount and paint it on. You could easily add other elements to the gel like beads or colour.
I used the same glitter paste to add some bling to the tips of my roses and leaves.
Why dont you give the challenge a go, and check out all the gorgeous products available in the Scrapping Clearly store :)
Scrapping Clearly products I've used include
Heidi Swapp "hello gorgeous" 12x12 paper pad
Heidi Swapp minc reactive foil - gold
Heidi Swapp 6" minc
American Crafts gold glitter cardstock
Heidi Swapp Blush ColorShine
Soft gloss gel
Heidi Swapp gold glitter or Prima art ingredients
Prima flowers and leaves
Thanks so much for stopping by
Crafty Hugs xx
Karyn